
Canna lilies are among the most dramatic and colorful flowering plants in the world of gardening. Their big tropical leaves and bright, showy flowers add an exotic touch to any landscape. But their beauty starts below the surface—with the canna lily bulb, or rhizome. In this article, we’ll cover all you need to know about canna lily bulbs, from planting to care to storage and propagation.
What Are Canna Lily Bulbs?
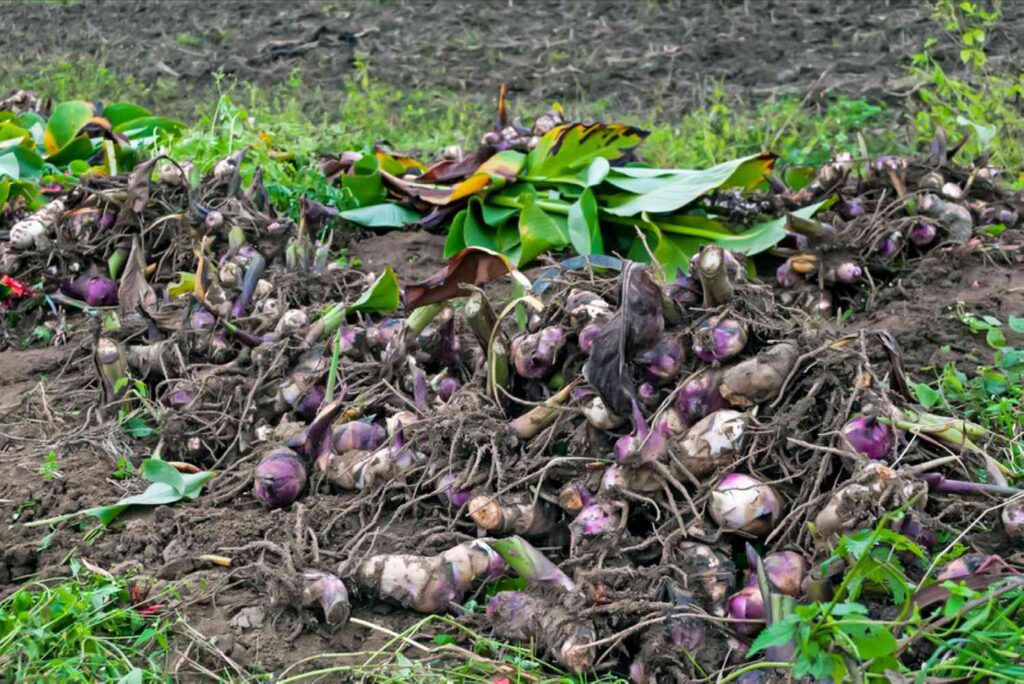
Technically, canna lilies actually develop from rhizomes rather than true bulbs. Rhizomes are stout, horizontal underground stems that contain stored nutrients and enable the plant to live through dormant seasons. While commonly referred to as bulbs, canna lily rhizomes serve the same purpose as true bulbs such as tulips or daffodils—providing energy storage for new growth every year.
Why Choose Canna Lilies for Your Garden?
Canna lilies are valued not only for their dramatic flowers, but also for their:
Tropical leaves: With banana-shaped leaves in green, bronze, or variegated designs.
Extended bloom period: Frequently blooming from early summer to the first frost.
Low maintenance: Particularly in hot climates.
Container suitability: Ideal for patios or balconies.
Pollinator appeal: Adored by hummingbirds and bees.
Types of Canna Lilies
There are quite a few varieties of canna lilies, and each is different. Some of the most well-liked include:
Canna ‘Pretoria’ (Bengal Tiger): Yellow-striped green leaves and orange flowers.
Canna ‘Tropicanna’: Multicolored foliage and bright orange flowers.
‘Red King Humbert’: Traditional deep red flowers and green leaves.
Dwarf Canna Lilies: Perfect for tight spaces or pots.
When to Plant Canna Lily Bulbs
When to plant canna lily bulbs is in the spring, once the threat of frost is over. In warmer USDA zones (8-11), they can be planted directly outside. In cooler temperatures (zones 3-7), it’s advisable to start them inside in pots and transfer them once it warms up.
How to Plant Canna Lily Bulbs: Step-by-Step
Planting canna lily bulbs is easy, but taking the right precautions can make all the difference in how well they grow.
1. Select a Site
Canna lilies adore:
Full sun (minimum of 6-8 hours per day)
Well-draining soil with high amounts of organic matter
2. Prepare the Ground
Open up the soil to about 12–15 inches deep and incorporate compost or rotted manure.
3. Plant the Rhizomes
Bury horizontally with the eyes (growing points) pointing upwards.
Depth: 4 inches
Spacing: 1 to 2 feet between plants, depending on type
4. Water Generously
Water the bulbs deeply after planting to settle the soil and initiate growth.
Canna Lily Maintenance and Care
After planting, canna lilies are easy to maintain. Following are the major points to keep them well.
Watering
Maintain moist soil, particularly when weather is hot and dry.
Don’t allow the soil to be waterlogged, which can cause rot.
Fertilizing
Use a balanced fertilizer (5-10-5 or 10-10-10) every 4-6 weeks.
Don’t over-fertilize, or you’ll have rich-looking leaves instead of flowers.
Deadheading and Pruning
Remove the faded flowers to promote ongoing blooming.
Remove yellowing leaves at the end of the season.
Growing Canna Lilies in Containers
Canna lilies grow very well in containers, and this makes them a best choice for patios and balconies.
Tips for Container Success:
Use large planters (at least 18 inches wide and deep).
Provide proper drainage (drainage holes are essential).
Water regularly—container cannas dry out quicker than those planted in the ground.
Fertilize monthly while actively growing.
Winter Care: How to Overwinter Canna Lily Bulbs
In colder climates, canna lily rhizomes must be dug and kept over winter.
How to Store Canna Bulbs:
After the first frost, cut back to 4 inches above the soil.
Dig the rhizomes carefully and remove excess soil.
Dry the bulbs in a well-ventilated place for several days.
Keep in a dry, cool location (such as a basement or garage) in peat moss, sawdust, or newspaper.
Inspect monthly for rot or mold.
Plant or pot them up indoors in spring.
Propagating Canna Lilies
It is relatively easy to propagate canna lilies from their rhizomes.
How to Divide Canna Lily Rhizomes:
In early spring, remove the stored rhizomes.
Cut them into pieces with a minimum of one eye per piece.
Allow the cuts to dry for a day or two.
Plant as normal.
This is an excellent means of increasing your garden or passing on to friends!
Common Problems and Pests
While generally resilient, canna lilies can experience some issues:
Common Issues:
Leaf rollers: Caterpillars roll up leaves and eat inside.
Japanese beetles: Eat flowers and leaves.
Canna virus: Exhibits yellow streaking and twisted growth (no cure—destroy infected plants).
Solutions:
Use insecticidal soap or neem oil to control pests.
Always disinfect equipment prior to dividing or cutting.
Where to Purchase Canna Lily Bulbs
Canna lily bulbs are commonly found at:
Local nurseries and garden supply stores
Online retailers such as Burpee, Eden Brothers, and Amazon
Specialty tropical plant stores
When purchasing, see:
Firm, swollen rhizomes
No mold, rot, or damage evident
Fun Facts About Canna Lilies
Canna lilies are not lilies, proper—Canna lilies belong to the Cannaceae family.
They have been named after the Latin term “canna”, which means reed.
Some species are cultivated for their edible rhizomes in Asia and South America.
Canna lilies are used to signify confidence and beauty in florid language.
Final Thoughts
Canna lily bulbs are the secret treasures behind one of the garden’s most dramatic and exotic-appearing flowers. Whether your goal is to make a dramatic statement in your flower beds, establish a tropical atmosphere on your patio, or simply have the pleasure of a low-maintenance bloomer, planting and maintaining canna lily bulbs is a fun and easy project for gardeners of any experience level.
Given proper care, your canna lilies will repay you year in and year out with color, tropical beauty, and a dramatic presence for your outdoor setting.